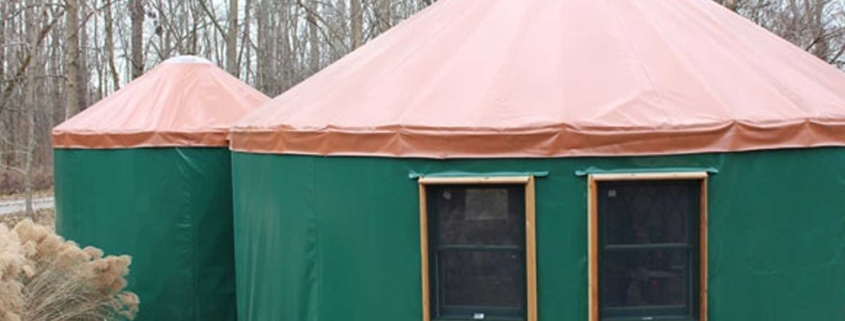
The question of whether or not yurts get moldy is a concern for many first-time yurt owners. So, do yurts get moldy?
Well, it depends…
Yurts are pretty much airtight if constructed properly. What this means is that airflow can be a problem. And as in any house, if you have a build-up of moisture on a surface, then there is the potential for mold and mildew to develop.
If you live in a humid climate, then it is pretty certain that at some time or other you’ll experience water collecting on the inside of the walls of your yurt. Much as you would find in a normal bathroom, the moisture in a yurt has nowhere to go except through the doors, or the dome opening. If these are closed, the water naturally condenses on the walls.
Condensation is the Problem
This condensation is usually found low down near the base of the walls where the airflow is minimal. It can be found behind furniture and unless you actively dry it off, either by cranking up the heat or opening the doors and windows, mold will soon start to grow.
Yurt owners find that mold is more of a problem if their heat source is located against one side of their yurt. Then they find that the opposite wall is where mold can begin to grow.
The problem isn’t only restricted to humid climates, as any time the walls of the yurt are colder than the inside air, there is a potential for condensation to occur.
And it doesn’t only happen when cooking or bathing.
During the night, when doors and windows are generally closed, the amount of water vapor that you breathe out is quite significant. Combine that with the cold night air cooling the walls and you have perfect conditions for condensation to occur.
Preventing Moisture and Yurts Get Moldy
Vinyl coated polyester is a wonderful material as it is non-permeable. It, therefore, creates a vapor barrier where no movement of moisture occurs.
Summer is normally fine, but when winter comes around it can be a challenge when the difference between inside and outside temperatures produce condensation. Your first indication is a puddle of water on the floor against the wall.
Yurt owners notice that humidity often occurs opposite the stove and the walls then develop moist patches that require cleaning with bleach or a mixture of vinegar and water to avoid mold growth.
Those with an uninsulated floor find that the problem is worse and insulating the floor is the first step in preventing the problem.
Providing regular airflow throughout the yurt helps to solve the problem, so keeping windows and doors slightly open works if it’s not too cold outside.
However, icy drafts don’t make for cozy yurts, so, cranking up the heat is the next option. Wood stoves tend to dry out the surrounding air, which is why they are an excellent option for yurts. If you have a gas heater, then the downside is that they tend to create a very damp environment.
Air vents are another option if the airflow isn’t sufficient to reduce condensation inside the yurt. Installation is fairly easy as the fitting can be mounted through the wall by cutting a hole through the fabric and the latticework.
If all else fails, then a dehumidifier can work wonders. By removing water vapor from the air and increasing airflow through the structure, most humidity problems can be resolved.
Some yurt owners are advised to fit insulation panels between their rafters which provide an additional level of protection from the cold. Foam insulation is almost as good as some other natural insulating materials, as well as being relatively cheap.
Treating the latticework and any other exposed wood with boiled linseed oil is another way to ensure that mold and mildew do not take hold. It also imparts a lovely natural smell and looks good too.
Treating and preventing mold and mildew is not too difficult if you bear it in mind right from the start. Planning for good airflow and installing insulation is easier if it is done during the build rather than adding it in later on to solve a mold problem.
Ready to step up your watch game? Fake Rolex is where it’s at for top-notch replica watches online!


