
No, normally canvas is not used as a cover for several reasons. First, it cannot stand up to the sun’s UV rays. Even if you decide treated canvas, it still needs to be retreated with UV inhibitors and fire retardants in order to increase its chance for long-term survival outside.
What Other Fabrics Can Be Used As A Cover?
There are other durable and high-quality materials and fabrics that can be used as an outdoor cover for yurts. Here are some of them:
Olefin
Olefin is another name for polypropylene fiber. It is a water-resistant fabric that is also often used for outdoor cushions. Unlike canvas and waterproofed cotton, olefin can wick moisture, and it air-dries quickly. It is also more durable than such common cushions fabrics like acrylic and polyester-blend. It has better abrasion resistance and pills are less likely than other fabrics.
The main benefits of olefin include:
- Staining resistance
- Durability
- Colorfastness
- Comfort
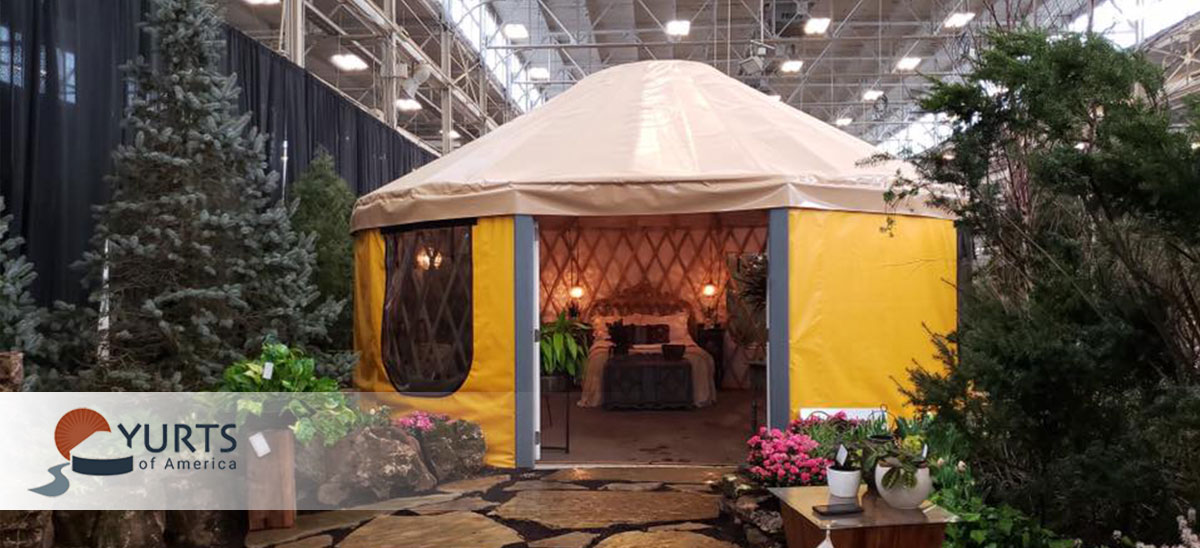
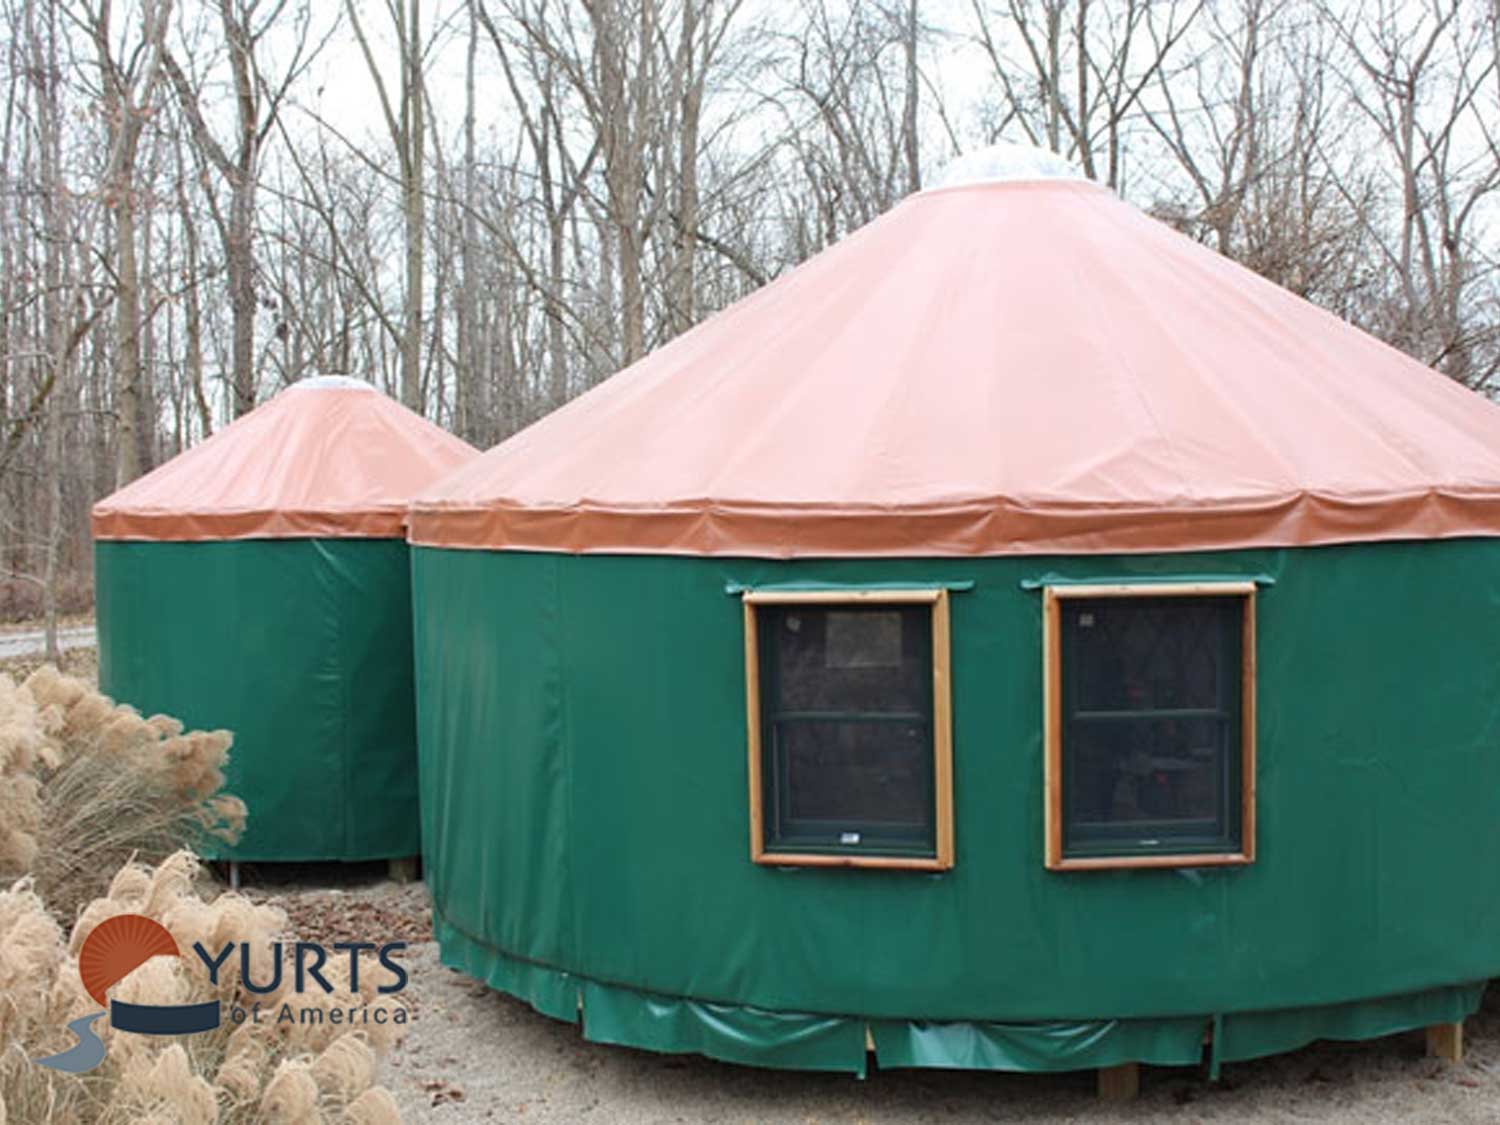
Vinyl
Vinyl is considered one of the best and most durable materials for tough outdoor applications. It won’t tear or split under pressure and weight. It is also known for its excellent abrasion resistance. It is water-resistant and air-dries rapidly. It is often used for covers in yurts because it is inexpensive and has low maintenance needs. Moreover, it is easy and quick to install. Unlike many other materials and fabrics, it is easy to clean, and you can simply spray dust away with a garden hose.
The main advantages of vinyl are the following:
- Moisture resistance
- Durability
- Lightweight
- Easy to store
What Factors Should You Consider When Choosing A Fabric For Your Yurt’s Cover?
The following factors need to be taken into consideration:
- Abrasion resistance. It is a measurement of how many times a fabric can be rubbed before showing wear. Usually, the “Wyzenbeek test” is used to test fabric abrasion resistance. There are several fabric ratings in terms of abrasion resistance – from “delicate duty” (less than 3,000 double rubs) to “extra heavy duty” (over 30,000 double rubs).
- Pressure to tear. Fabrics are put under pressure in order to measure how much fabric can take before it tears. There are several tests that are usually conducted in a lab.
- Durability. A fabric used for yurts’ cover should also be durable and last long. There are certain factors that make a fabric durable, including the following: fiber content (can be man-made or natural), weave, yarn thickness, washability, mildew and mold resistance, UV resistance, and colorfastness.
- Hey there! Take a peek at Fake Patek Philippe , they’re the real deal when it comes to replica watches online!
 gasdasgdas